How to use Redis into Laravel using Predis package
Redis uses server-assisted client-side caching, which allows it to exploit the available memory of the application servers
These are a few steps to using the Redis server for caching in Laravel. This article will use a predis client for the Redis server.
Step 1: Install the below package for predis.
composer require predis/predis
Step 2: Make these changes in database.php
Redis configuration settings in config/database.php. In the file, you will see an redis array containing the Redis server. By default, the client is set to, and since predis it is being used in this article, the client will be changed to predis:
'redis' => [

        'client' => env('REDIS_CLIENT', 'predis'),

        'options' => [
            'cluster' => env('REDIS_CLUSTER', 'redis'),
            'prefix' => env('REDIS_PREFIX', Str::slug(env('APP_NAME', 'laravel'), '_').'_database_'),
        ],

        'default' => [
            'url' => env('REDIS_URL'),
            'host' => env('REDIS_HOST', '127.0.0.1'),
            'password' => env('REDIS_PASSWORD', null),
            'port' => env('REDIS_PORT', '6379'),
            'database' => env('REDIS_DB', '0'),
        ],

        'cache' => [
            'url' => env('REDIS_URL'),
            'host' => env('REDIS_HOST', '127.0.0.1'),
            'password' => env('REDIS_PASSWORD', null),
            'port' => env('REDIS_PORT', '6379'),
            'database' => env('REDIS_CACHE_DB', '1'),
        ],

    ],
Step 3: Implement Redis in your code
Here we have a simple Redis example for caching query data.
Basically here we use three crucial method Redis::get('variable_name') which is used to retrieve data from the cache, then we have Redis::set('variable_name',$data) and at last, we have Redis::del('variable_name') for deleting cache data.
One more important method is \Redis::connection() which is used to make a connection with the Redis server
// This function will return settings data
function getBasicSetting()
{
    $redis = \Redis::connection();
    $setting = \Redis::get('basic_setting');

    if (isset($setting) && $setting != null) {
        $setting = json_decode($setting);
        return $setting;
    } else {
        $data = \App\Models\Setting::select('id', 'logo', 'favicon')->first();
        Redis::set('basic_setting', $data);
        return $data;
    }
}
Step 4: Start the Redis server in a local server
Don't forget to start the Redis server before accessing the project on a local server.
The Redis server will start using the below command. Use that command in your project folder terminal.
redis-server
Note: If redis-server command not working, then follow the below steps:
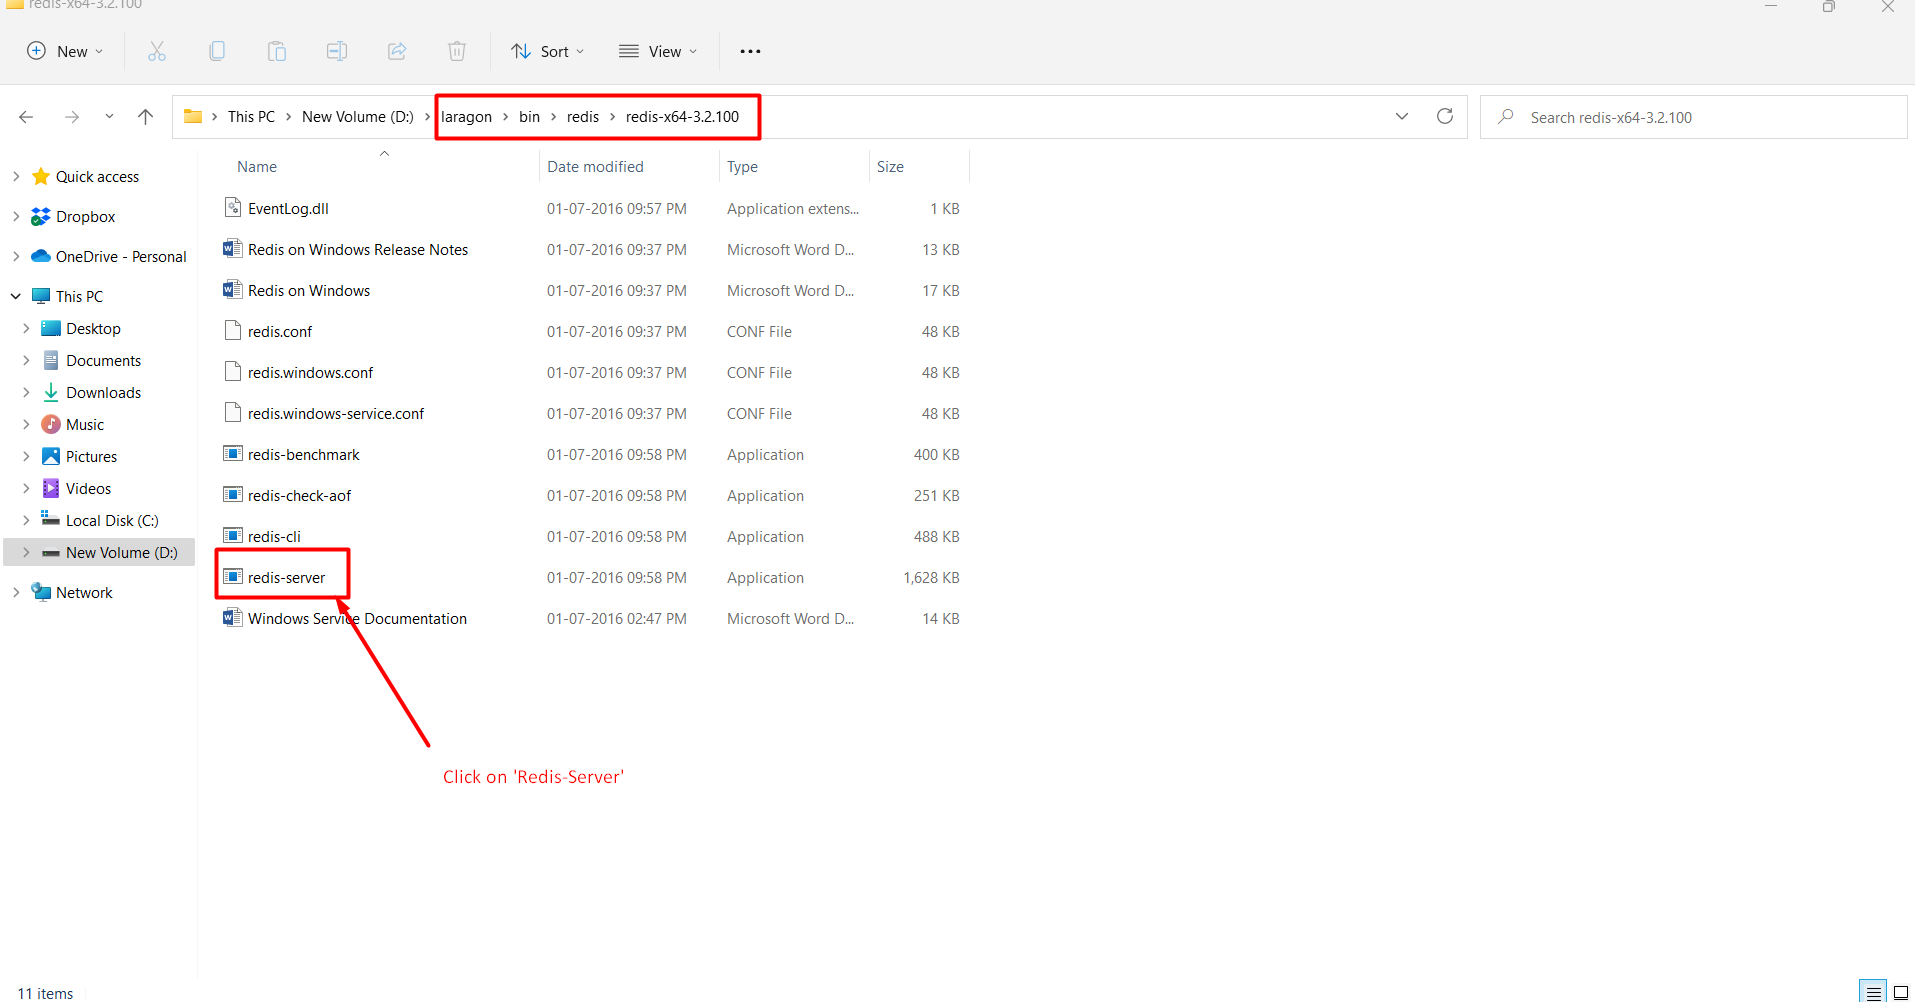
1. Open your Laragon/Xampp Folder and goto below path
laragon\bin\redis\redis-x64-3.2.1002. Click on 'Redis-Server' and now, redis-server command will work
Step 5: Delete cache data
This is the final step and in this step, we will see how we can delete cache data in the Redis server.
\Redis::del('basic_setting');Step 6: Start project and test Redis
Start project and use the Redis server to speed up database queries.